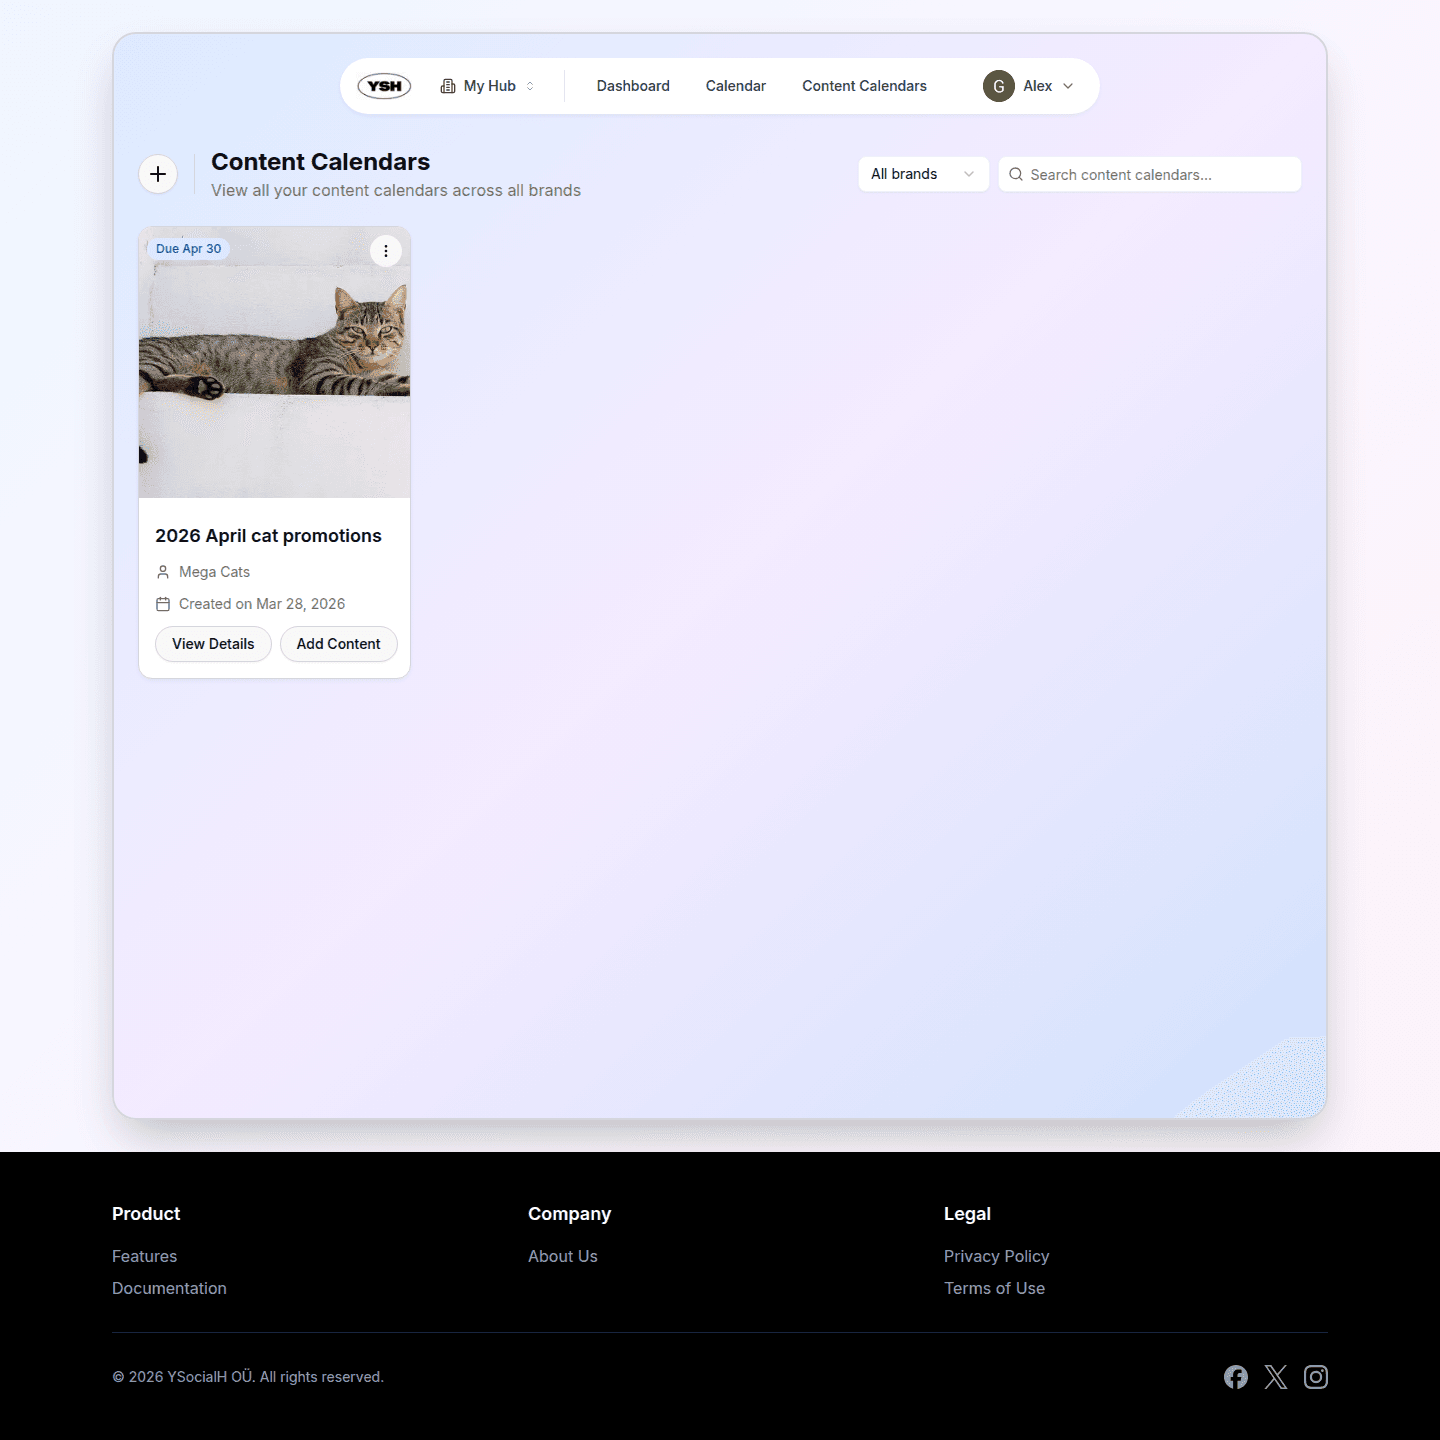
Content Calendar Management
Content Calendars help you organize content into projects or campaigns. Use different views to visualize and manage your content schedule.
Creating a Content Calendar
Step 1: Navigate to Content Calendars
Click Content Calendars in the main navigation to see all your calendars.
Step 2: Click "Create Content Calendar"
Click the create button to start a new content calendar.
Step 3: Fill in Details
Provide the following information:
- Name— A descriptive name for the calendar (e.g., "March Campaign" or "Product Launch").
- Brand — Associate a brand with this calendar for the review process.
- Due Date — Set a deadline for all content in this calendar.
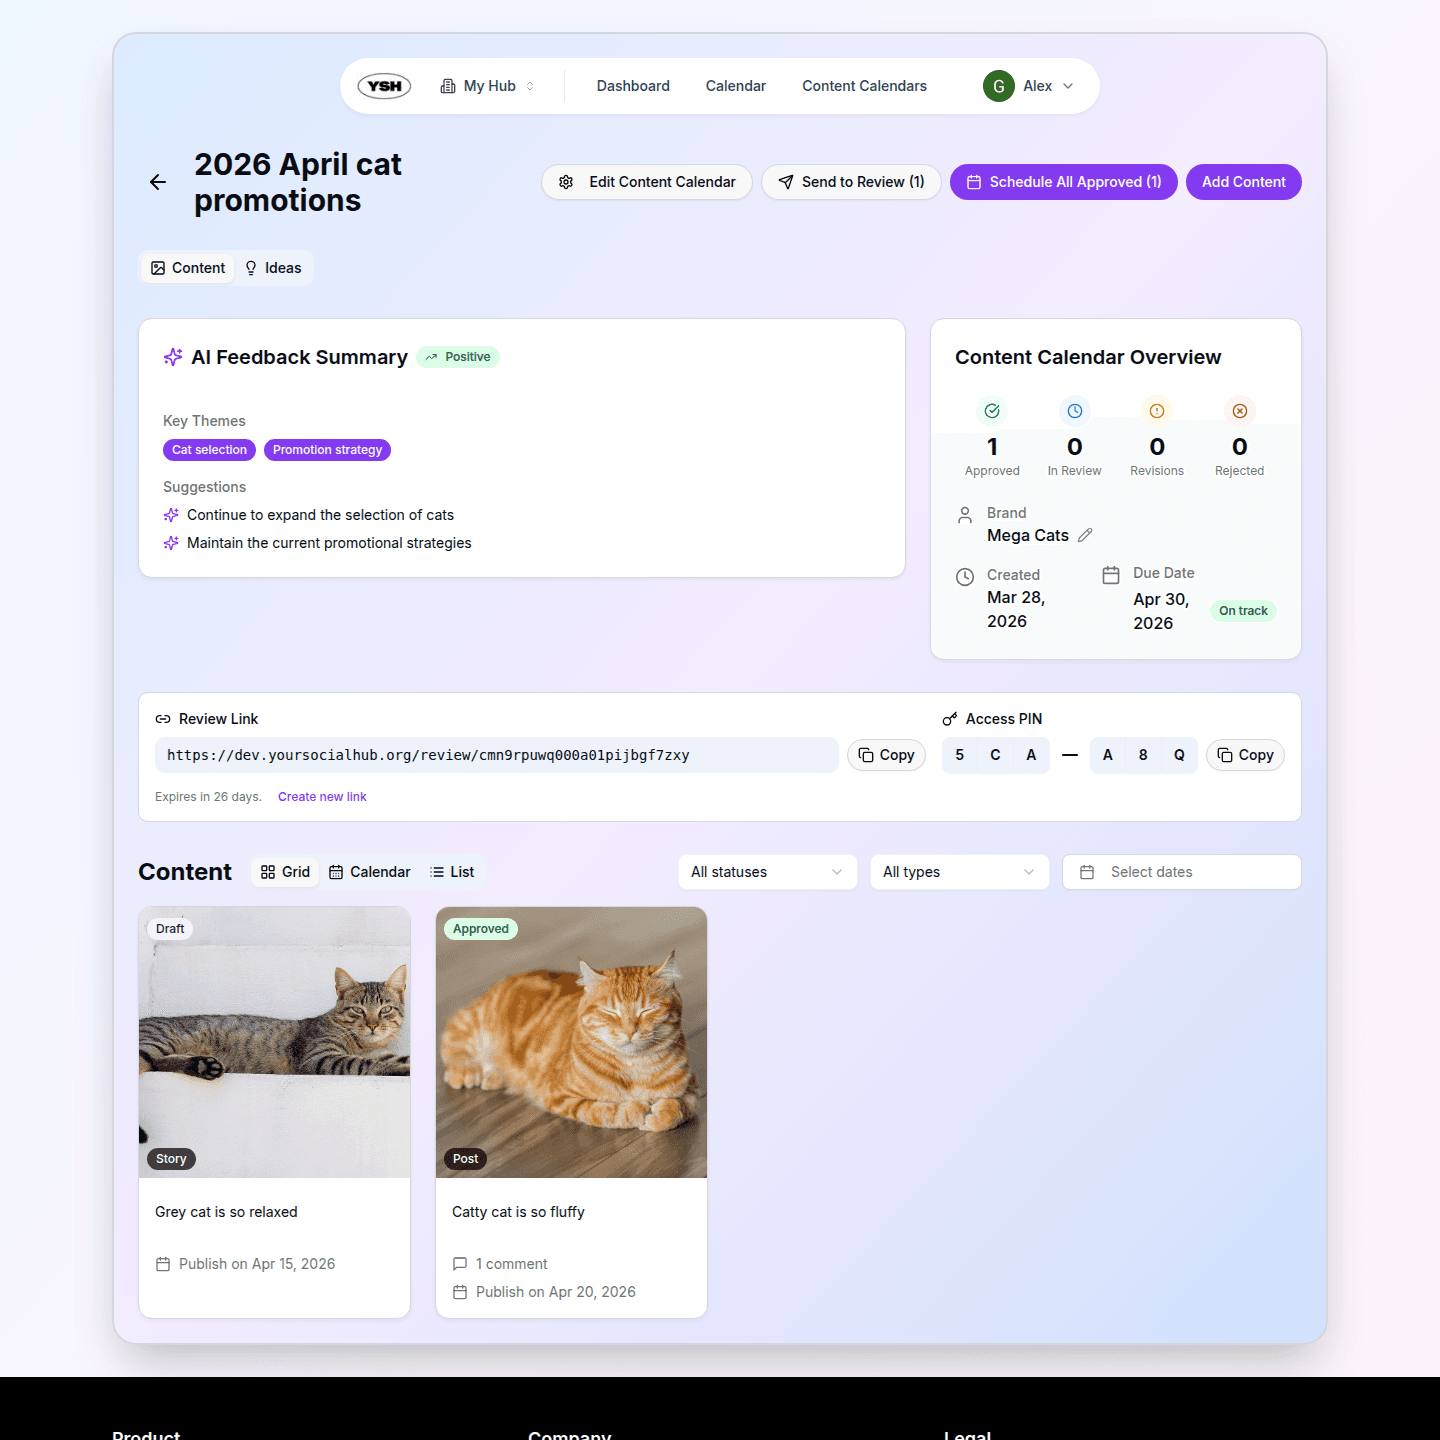
Calendar Views
YSH offers multiple ways to view content within a calendar. Switch between views using the toggle in the top right corner.
Grid View
The default view shows content as cards in a grid layout. Each card displays a thumbnail, name, status, and type. This is the best view for browsing and getting an overview of all content.

Calendar View
The calendar view displays content on a monthly calendar based on their scheduled publication dates. This helps you visualize your posting schedule and identify gaps or overlaps. Unscheduled content appears in a separate section.
List View
The list view shows content in a table format with sortable columns. Use this view when you need to quickly scan through many content items or sort by specific fields.
Filtering Content
All views support filtering by status, content type, and platform. Filters are reflected in the URL, so you can share filtered views with your team.
Sharing with Brands
Each content calendar has a Share Link that you can send to brands. The link provides access to the review page where brands can see all content that is in review and provide feedback.
Finally, learn how to manage your hub settings and invite team members.