Hub Settings & Members
Manage your hub configuration, invite team members, and control who has access to what.
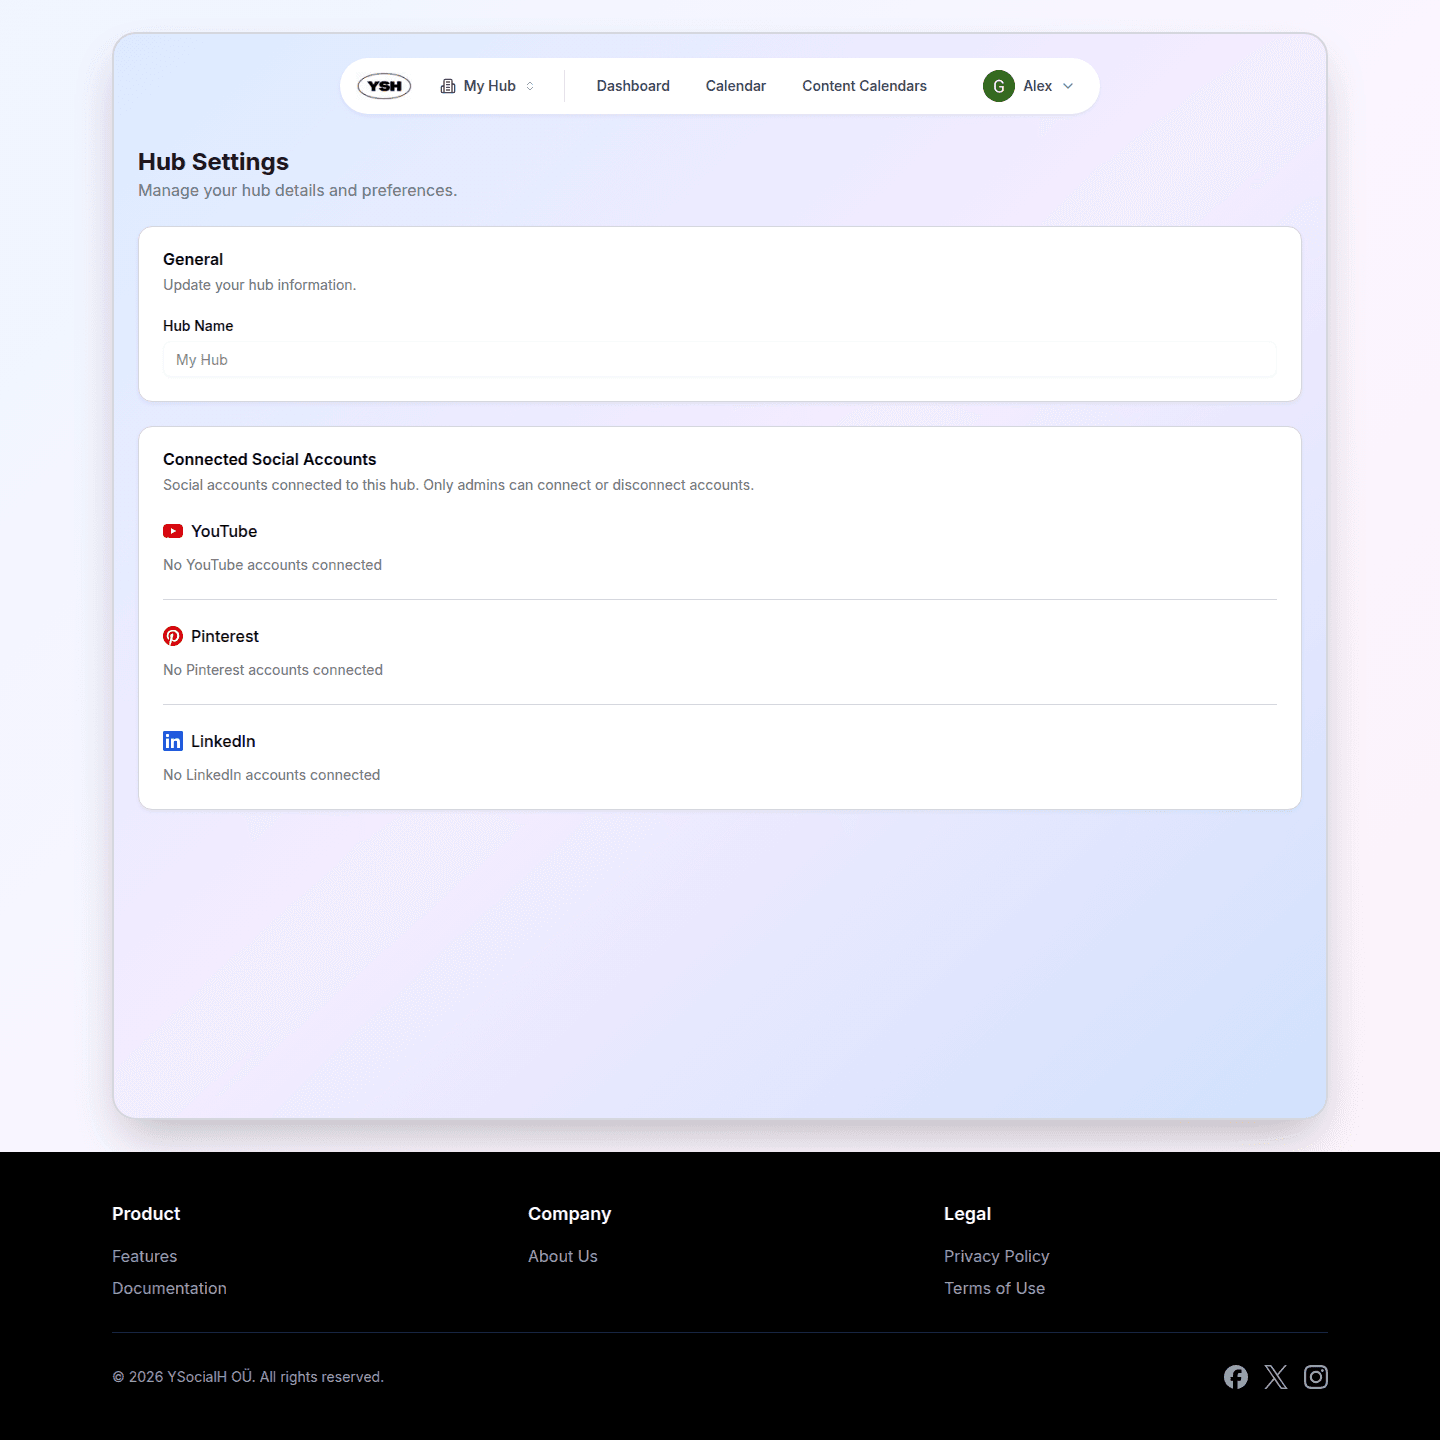
Accessing Hub Settings
Navigate to your hub settings from the Dashboard. Only hub admins can access and modify hub settings.
Hub Information
In the hub settings, you can update:
- Hub Name. The name of your team or organization.
Inviting Members
Step 1: Go to Members Section
In the hub settings, find the Members section to see all current members and their roles.

Step 2: Invite a New Member
Click Invite Member and enter the email address of the person you want to invite. Select the role you want to assign to them.
Step 3: Choose a Role
Select the appropriate role for the new member:
- Content Creator — Can create and edit content, write comments. Best for designers and content producers.
- Publisher — Can do everything a Content Creator can, plus submit content for review, schedule publications, and manage brands and content calendars. Best for social media managers.
- Admin — Full access to all hub features including member management and hub settings. Best for team leads and account owners.
Step 4: Send Invitation
The invited person will receive an email with a link to join your hub. Once they accept, they will appear in the members list with their assigned role.
Managing Members
As a hub admin, you can:
- Change roles — Promote or demote members by changing their role.
- Remove members — Remove a member from the hub. They will lose access to all hub content.
Connecting Social Accounts
Hub admins can connect social media accounts for auto-publishing. Go to the hub settings and look for the Social Accounts section.
To connect an account:
- Click Connect Account.
- Select the platform (Facebook or Instagram).
- Authorize YSH to access your social media account.
- Select which pages or accounts you want to connect.
Once connected, these accounts will be available when creating content and selecting where to publish.